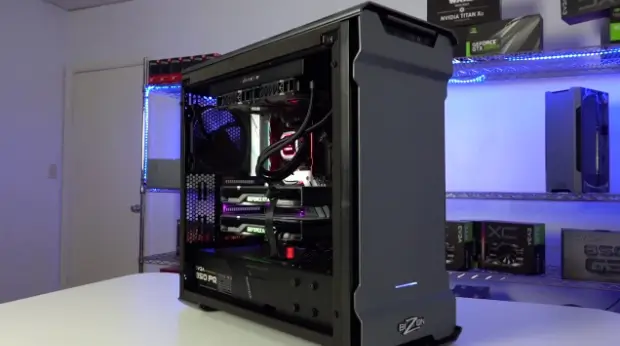
GPU rendering used to be the riskier option, faster than CPU rendering, sure, but not something you’d bet a whole pipeline on. That’s changed. Octane, Redshift, and the rest of that generation of engines are now standard in VFX, product visualization, architecture viz, motion design, you name it. And they dragged the hardware conversation along with them, whether studios were ready or not. A lot of workstations still running these engines simply weren’t designed for them.
Here’s the thing about GPU rendering: it doesn’t just want a fast card. It wants memory, cooling, power delivery, and storage all built around one goal: sustained, brutal parallel workloads, and that’s a completely different design brief than a gaming rig or an office machine dressed up as a workstation.
Why GPU Rendering Rewrote the Hardware Rulebook
CPU rendering spreads the load across processor cores. Studios spent years pouring hardware budgets into exactly that. GPU rendering doesn’t work that way at all. Engines built around thousands of GPU cores running in parallel turn the graphics card from a supporting player into the main event, full stop.
That flips what actually matters. VRAM headroom, GPU-to-GPU communication, thermal performance under sustained load none of that mattered much for CPU-heavy pipelines, and now it’s everything. A system that looks impressive on a spec sheet can still fall apart under real GPU rendering load if nobody thought through those specifics.
Purpose-built systems exist for exactly this reason. An OctaneRender Standard Edition workstation is built around that load specifically, with GPU capacity and memory headroom sized for what Octane actually needs to perform, not just run.
See also: How to Turn Challenges into Business Opportunities
What GPU Rendering Actually Asks of a Machine
None of this is light work. A few things that end up mattering more than people expect:
- VRAM capacity. Complex scenes with dense geometry and high-res textures chew through VRAM fast. Run out mid-render, and you don’t get a slowdown; you get a crash.
- Sustained cooling. GPUs pinned at full load for hours need cooling that holds, not one that throttles the second temperatures climb.
- Power delivery. Multi-GPU rigs draw serious power. An undersized supply causes instability that people spend weeks chasing before they realize what it actually is.
- Fast storage. Big scene files and cached textures need storage that keeps pace, or the GPU sits idle waiting on data instead of doing its job.
Skip any one of those, and the whole system underdelivers even with a great card sitting inside it.
What Happens When the Hardware Doesn’t Match the Workload
Mismatched hardware doesn’t fail quietly. It shows up fast, and it’s obvious once you know what you’re looking at.
Crashes, Constantly
Run out of VRAM mid-job, or hit a thermal wall during a long render, and the job doesn’t slow down; it dies. Hours of progress, gone. What should be a predictable process turns into a coin flip.
Money Left on the Table
Studios drop real money on flagship GPUs and then bottleneck them with weak cooling, an underpowered supply, or slow storage feeding the card. The GPU could do more. It just never gets the chance.
Timelines You Can’t Trust
A system that throttles under load produces wildly inconsistent render times from one job to the next. Try quoting a client’s delivery date on that.
Scaling Up: When One GPU Isn’t Enough
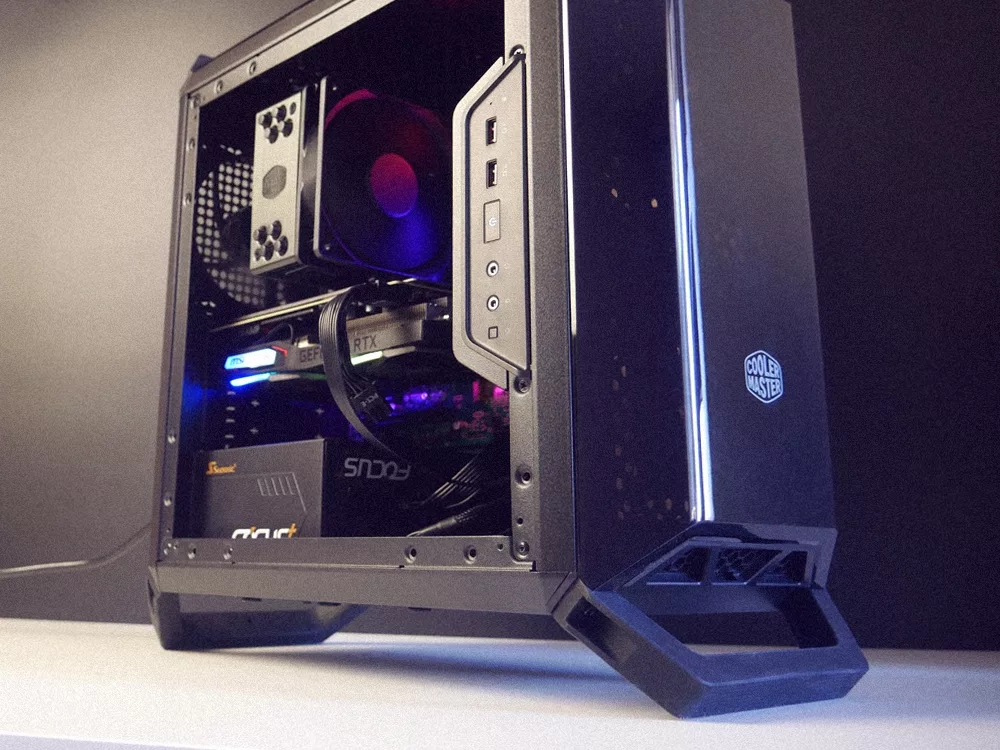
Bigger projects eventually push studios toward multi-GPU setups just to keep render times sane. That jump brings its own baggage: GPUs need to talk to each other efficiently, power delivery has to scale with them, and cooling has to handle multiple cards running flat out at once, not just one.
For studios heading in that direction, an OctaneRender and Ryzen workstation is built with exactly that scaling in mind, pairing serious CPU throughput with the GPU capacity Octane needs to actually make a multi-card setup worth the investment.
The Balance Nobody Talks About
The instinct is always to buy the biggest GPU on the shelf and assume everything else will fall in line. It won’t. A system is only as strong as its weakest part, and cooling, power, memory, storage all of it has to scale alongside the GPU, not trail behind it hoping to catch up.
Get that balance right, and the payoff shows up quickly: fewer crashed renders, delivery times you can actually promise a client, and a graphics card that’s finally earning what you paid for it.
Final Thoughts
GPU-based rendering changed what studios actually need from their hardware, and treating it like a simple card upgrade misses most of the point. Memory, cooling, power, and storage all have to be designed around the workload from the start, not patched on afterward once something breaks.
Studios that build around GPU rendering’s real demands spend less time firefighting crashes and more time actually shipping work. That’s the idea behind Cloud Ninjas, which builds workstations around what GPU rendering engines genuinely need instead of stretching general-purpose machines to cover a job they were never meant for.